Win10+VS2019+PyTorch(libtorch) C++ 基本开发环境搭建
1.下载准备
下载安装vs2019
选择社区版即可
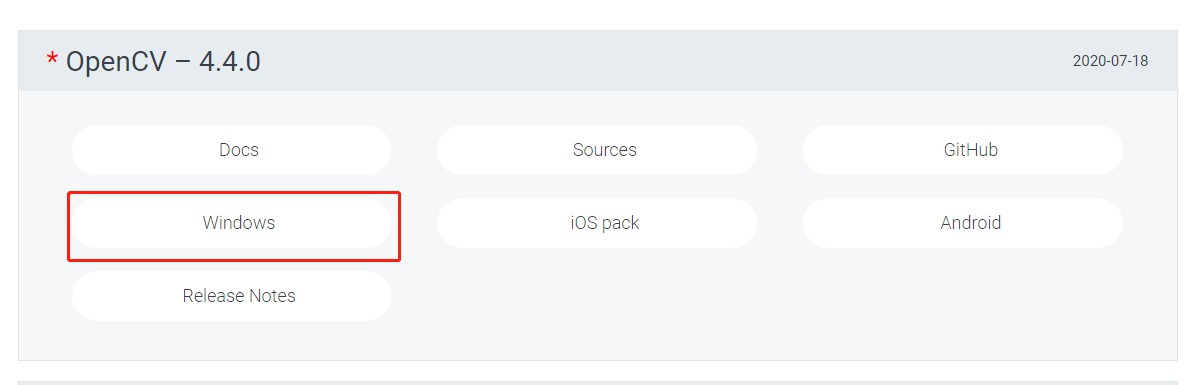
下载安装opencv
根据自己情况选择下载,推荐下载opencv4.4.0
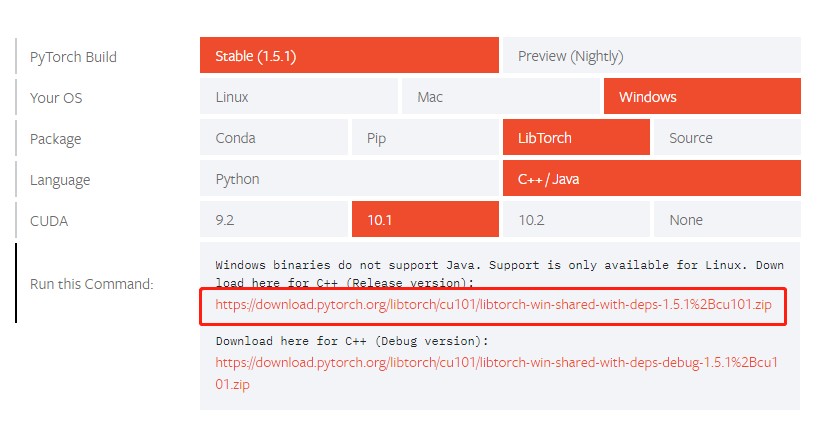
下载libtorch
根据自己情况选择下载,推荐下载cuda10,并且选择使用release版本,所以我的选择如下:
以上下载如果速度慢的可以使用备用链接下载。
opencv-4.4.0-debug-release libtorch-1.5.1-release libtorch-1.5.1-debug
2.PyTorch模型转换为Torch脚本
安装python,建议安装python3
安装torch:
python -m pip install torch==1.5.1+cpu torchvision==0.6.1+cpu -f https://download.pytorch.org/whl/torch_stable.html
PyTorch模型从Python到C ++的旅程由Torch Script实现,Torch Script是PyTorch模型的一种表示,可以由Torch Script编译器理解,编译和序列化。
这里说下通过跟踪转换为Torch脚本方式(示例),创建一个名为TorchScript.py的脚本,内容如下:
import torch
import torchvision
# An instance of your model.
model = torchvision.models.resnet18()
# An example input you would normally provide to your model's forward() method.
example = torch.rand(1, 3, 224, 224)
# Use torch.jit.trace to generate a torch.jit.ScriptModule via tracing.
traced_script_module = torch.jit.trace(model, example)
traced_script_module.save("model.pt")
然后运行该脚本(python TorchScript.py),会生成一个model.pt文件,该文件就是C++需要调用的模型
3.准备C++测试代码和CMakelists.txt文件
首先,我在E:/PyTorch/libtorch_test路径下创建一个名为Example的文件夹,然后在该文件夹下分别创建C++测试代码(例如:example-app.cpp)和CMakelists.txt文件以及名为build的文件夹。
CMakelists.txt 内容如下:
# CMakeList.txt : CMake project for TorchSmart, include source and define
# project specific logic here.
#
cmake_minimum_required (VERSION 3.8)
set(project_name torchsmart)
project(${project_name})
#find_package(Torch REQUIRED)
set(Torch_FOUND 1)
set(TORCH_INCLUDE_DIRS ${CMAKE_SOURCE_DIR}/libtorch-1.5.1/release/include)
if(MSVC)
set(TORCH_LIB_DIRS ${CMAKE_SOURCE_DIR}/libtorch-1.5.1/release/lib)
set(TORCH_LIBRARIES torch torch_cuda torch_cpu c10_cuda c10)
else(MSVC)
endif(MSVC)
#find_package(OpenCV REQUIRED)
set(Opencv_FOUND 1)
set(OpenCV_INCLUDE_DIRS ${CMAKE_SOURCE_DIR}/libopencv-4.4.0/release/include)
if(MSVC)
set(OPENCV_LIB_DIRS ${CMAKE_SOURCE_DIR}/libopencv-4.4.0/release/x64/vc15/lib)
set(OpenCV_LIBS opencv_world440)
else(MSVC)
endif(MSVC)
if(NOT Torch_FOUND)
    message(FATAL_ERROR "Pytorch Not Found!")
endif(NOT Torch_FOUND)
message(STATUS "Pytorch status:")
message(STATUS "    libraries: ${TORCH_LIBRARIES}")
if(NOT Opencv_FOUND)
    message(FATAL_ERROR "Opencv Not Found!")
endif(NOT Opencv_FOUND)
message(STATUS "OpenCV library status:")
message(STATUS "    version: ${OpenCV_VERSION}")
message(STATUS "    libraries: ${OpenCV_LIBS}")
message(STATUS "    include path: ${OpenCV_INCLUDE_DIRS}")
include_directories(
    ${TORCH_INCLUDE_DIRS}
    ${OPENCV_INCLUDE_DIRS}
)
link_directories(
    ${TORCH_LIB_DIRS}
    ${OPENCV_LIB_DIRS}
)
# Add source to this project's executable.
add_executable(${project_name} "TorchSmart.cpp" "TorchSmart.h")
set_property(TARGET ${project_name} PROPERTY CXX_STANDARD 11)
target_link_libraries(${project_name} ${TORCH_LIBRARIES} ${OpenCV_LIBS})
# TODO: Add tests and install targets if needed.
注意该文件里TorchSmart.h、TorchSmart.cpp就是接下来要写的C++测试代码文件名。
C++测试代码文件(TorchSmart.h)内容如下:
#include <assert.h>
#include <torch/script.h> // One-stop header.
#include <memory>
__inline static
int test_main() {
	// Deserialize the ScriptModule from a file using torch::jit::load().
	const std::string fileName = "./model.pt";
	std::shared_ptr<torch::jit::script::Module> module = std::make_shared<torch::jit::script::Module>(torch::jit::load(fileName, c10::nullopt, torch::jit::default_extra_files));
	assert(module != nullptr);
	std::cout << "ok\n";
	// Create a vector of inputs.
	std::vector<torch::jit::IValue> inputs;
	inputs.push_back(torch::ones({ 1, 3, 224, 224 }));
	// Execute the model and turn its output into a tensor.
	at::Tensor output = module->forward(inputs).toTensor();
	std::cout << output.slice(/*dim=*/1, /*start=*/0, /*end=*/5) << '\n';
	getchar();
	return 0;
}
C++测试代码文件(TorchSmart.cpp)内容如下:
// TorchSmart.cpp : Defines the entry point for the application.
//
#include "TorchSmart.h"
using namespace std;
int main()
{
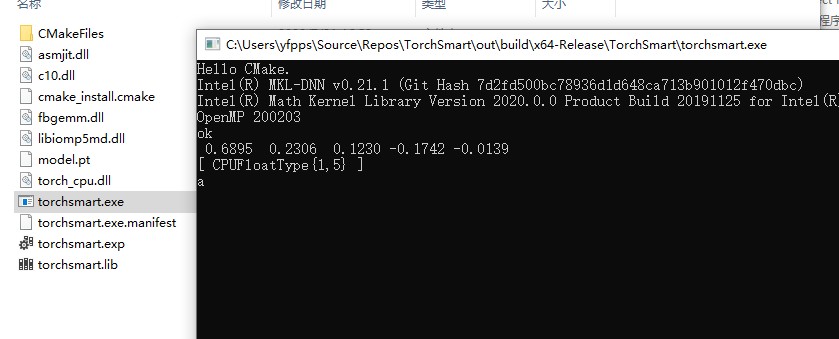
cout << "Hello CMake." << endl;
test_main();
return 0;
}4.编译运行
拷贝model.pt到运行目录。
如果提示c10.dll、torch.dll缺失。拷贝相关动态库到运行目录即可。